How to Create a Squarespace Blog Template
If you’re wondering how to create a Squarespace blog template I got you covered! It’s really quite easy, and I find that it speeds up the blogging process!
Table of Contents Show
Why Create a Squarespace Blog Template?
There are many reasons why you should create a Squarespace Blog Template. Here are the main reasons why I do it!
Saves Time
Creating a Squarespace Blog template is a time saver. When you set it up exactly how you want it, all you need to do is copy the blog post, and it’s ready to use. If you don’t create a template you’ll need to add all the elements you want on every post every time you make a new blog post. What a waste of time!
Brand Cohesive
Once you’ve set a Blog Template on Squarespace, this means every blog post is designed the same way! Make it clear that your brand shines through every element of your blog. This is key for your branding and brand recognition.
Consistency
Having the same design creates it easier for your returning readers to digest your content and also create every blog post look consistent.
What to Add to a Squarespace Blog Template
You can create your Squarespace blog template as robust or simple as you want, but here are some elements to add to a blog template.
Disclaimer Notice
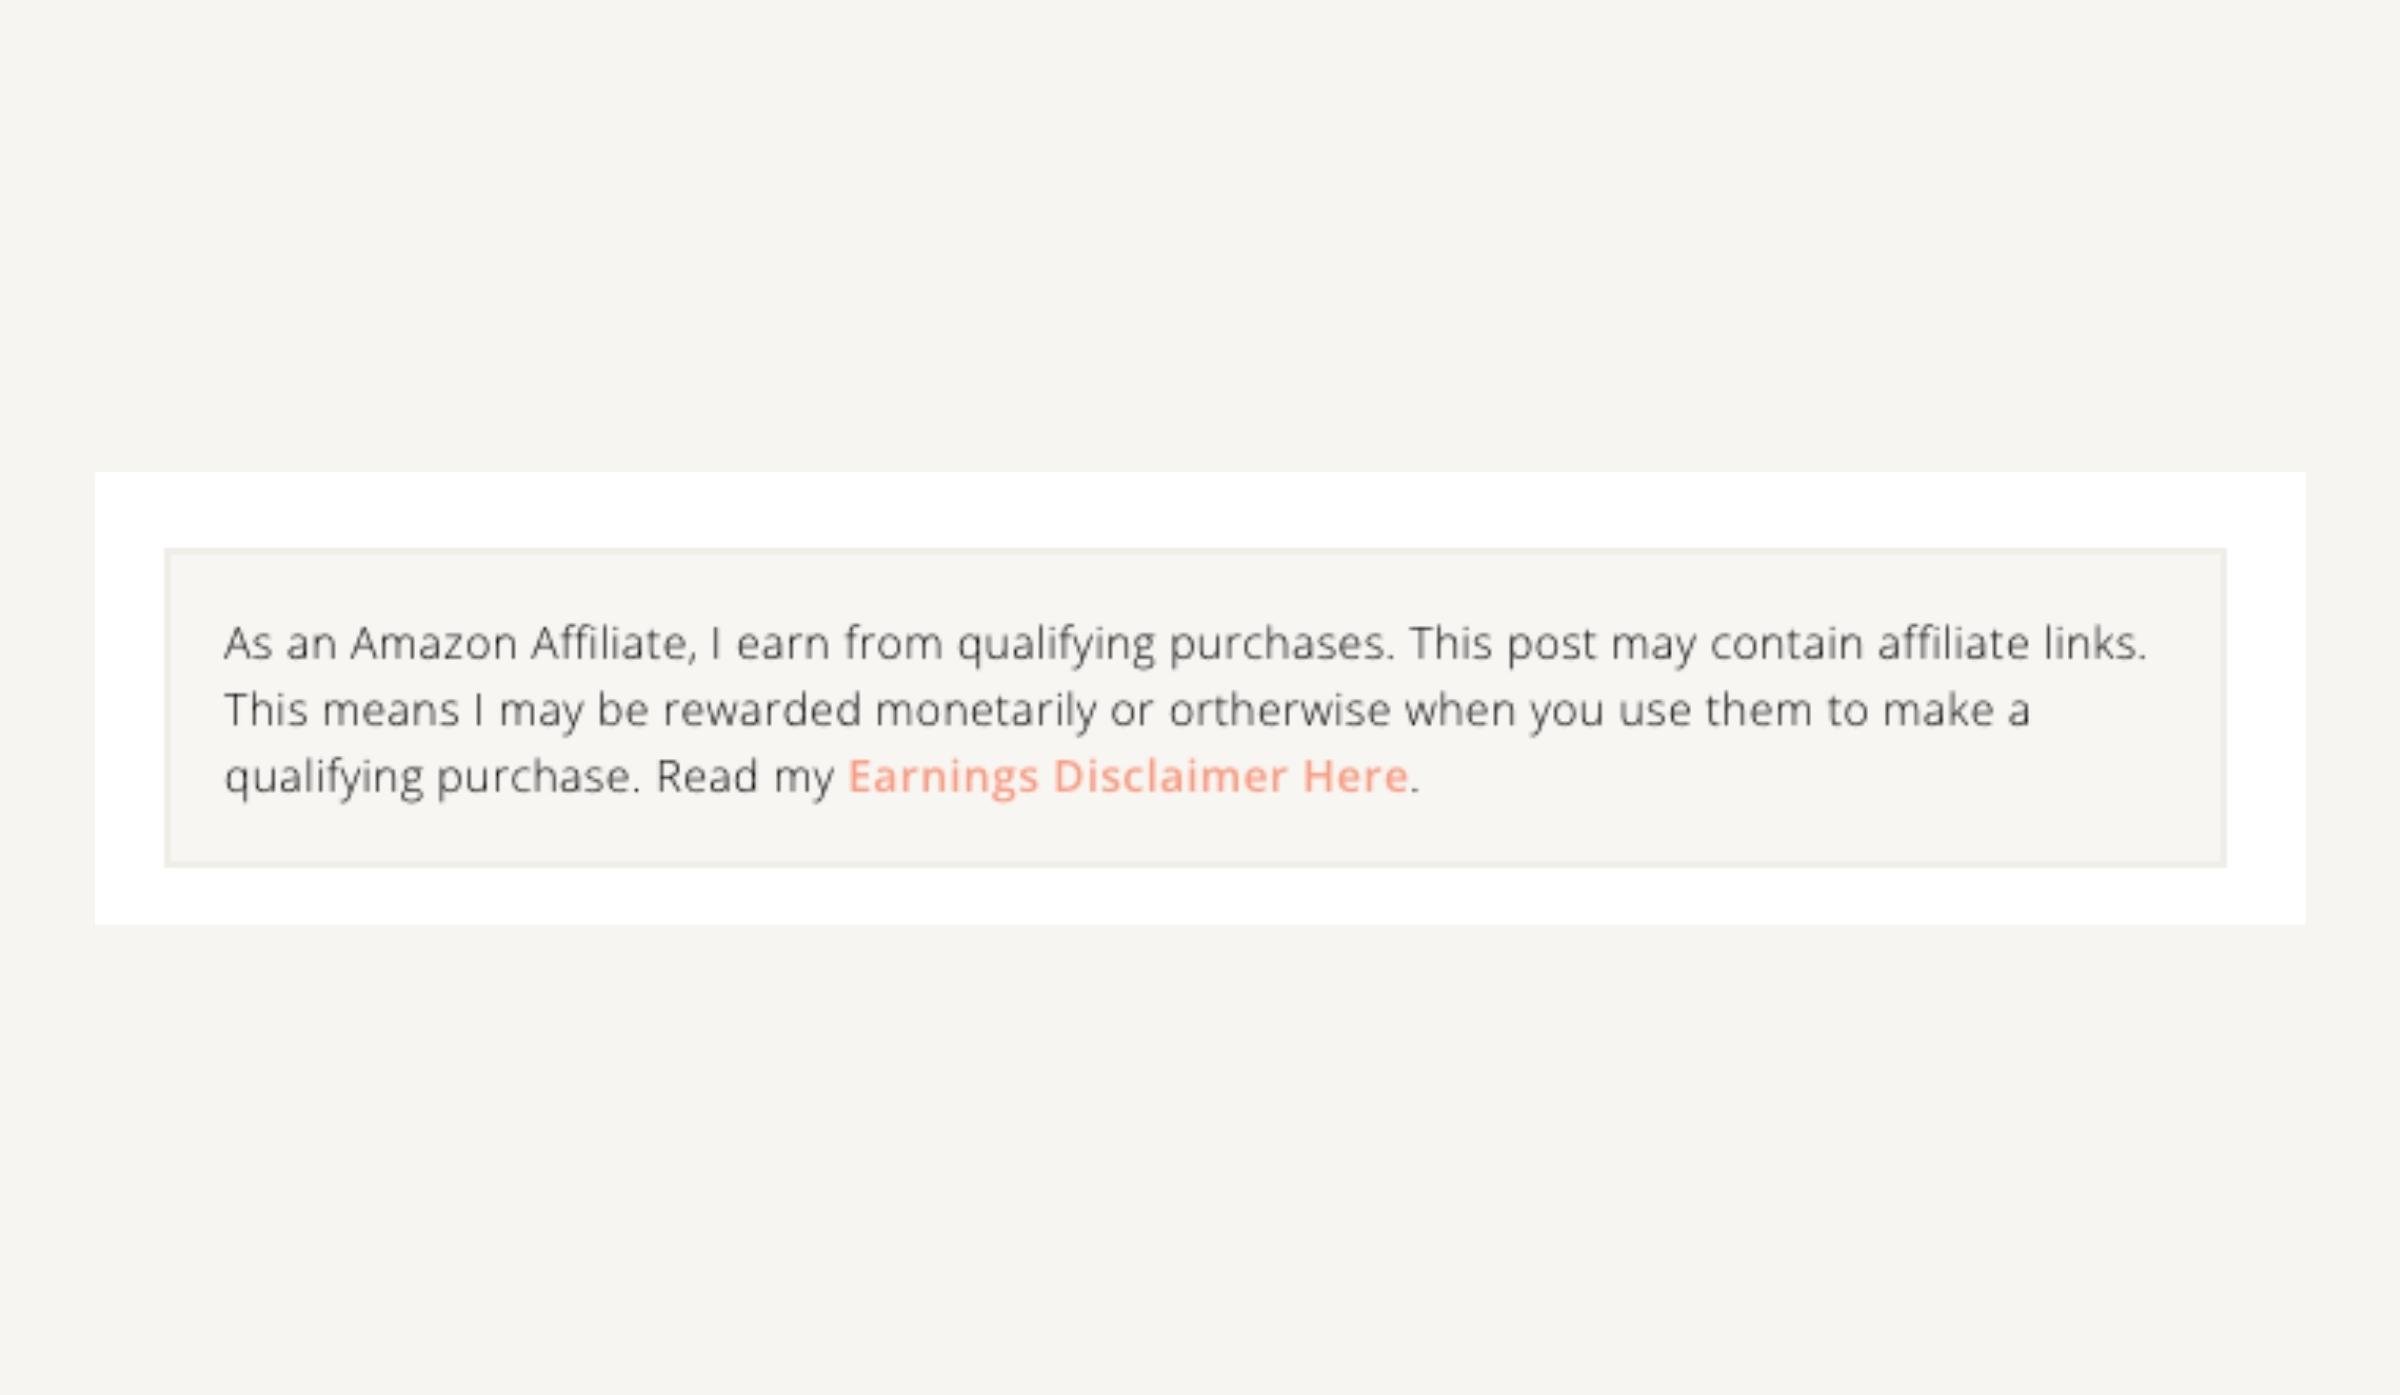
If you plan on promoting affiliate links from creators, amazon, or any product, this plugin is essential! According to the FTC, this is a requirement, and not having an affiliate Disclaimer Notice can put you and your business at risk. This Disclaimer Notice plugin will give you the code so that your affiliate notice will appear at the top of every blog post. Note, that it’s up to you to create the Affiliate Notice and ensure it complies with FTC guidelines. This plugin is from Beatriz Caraballo!
Table of Contents
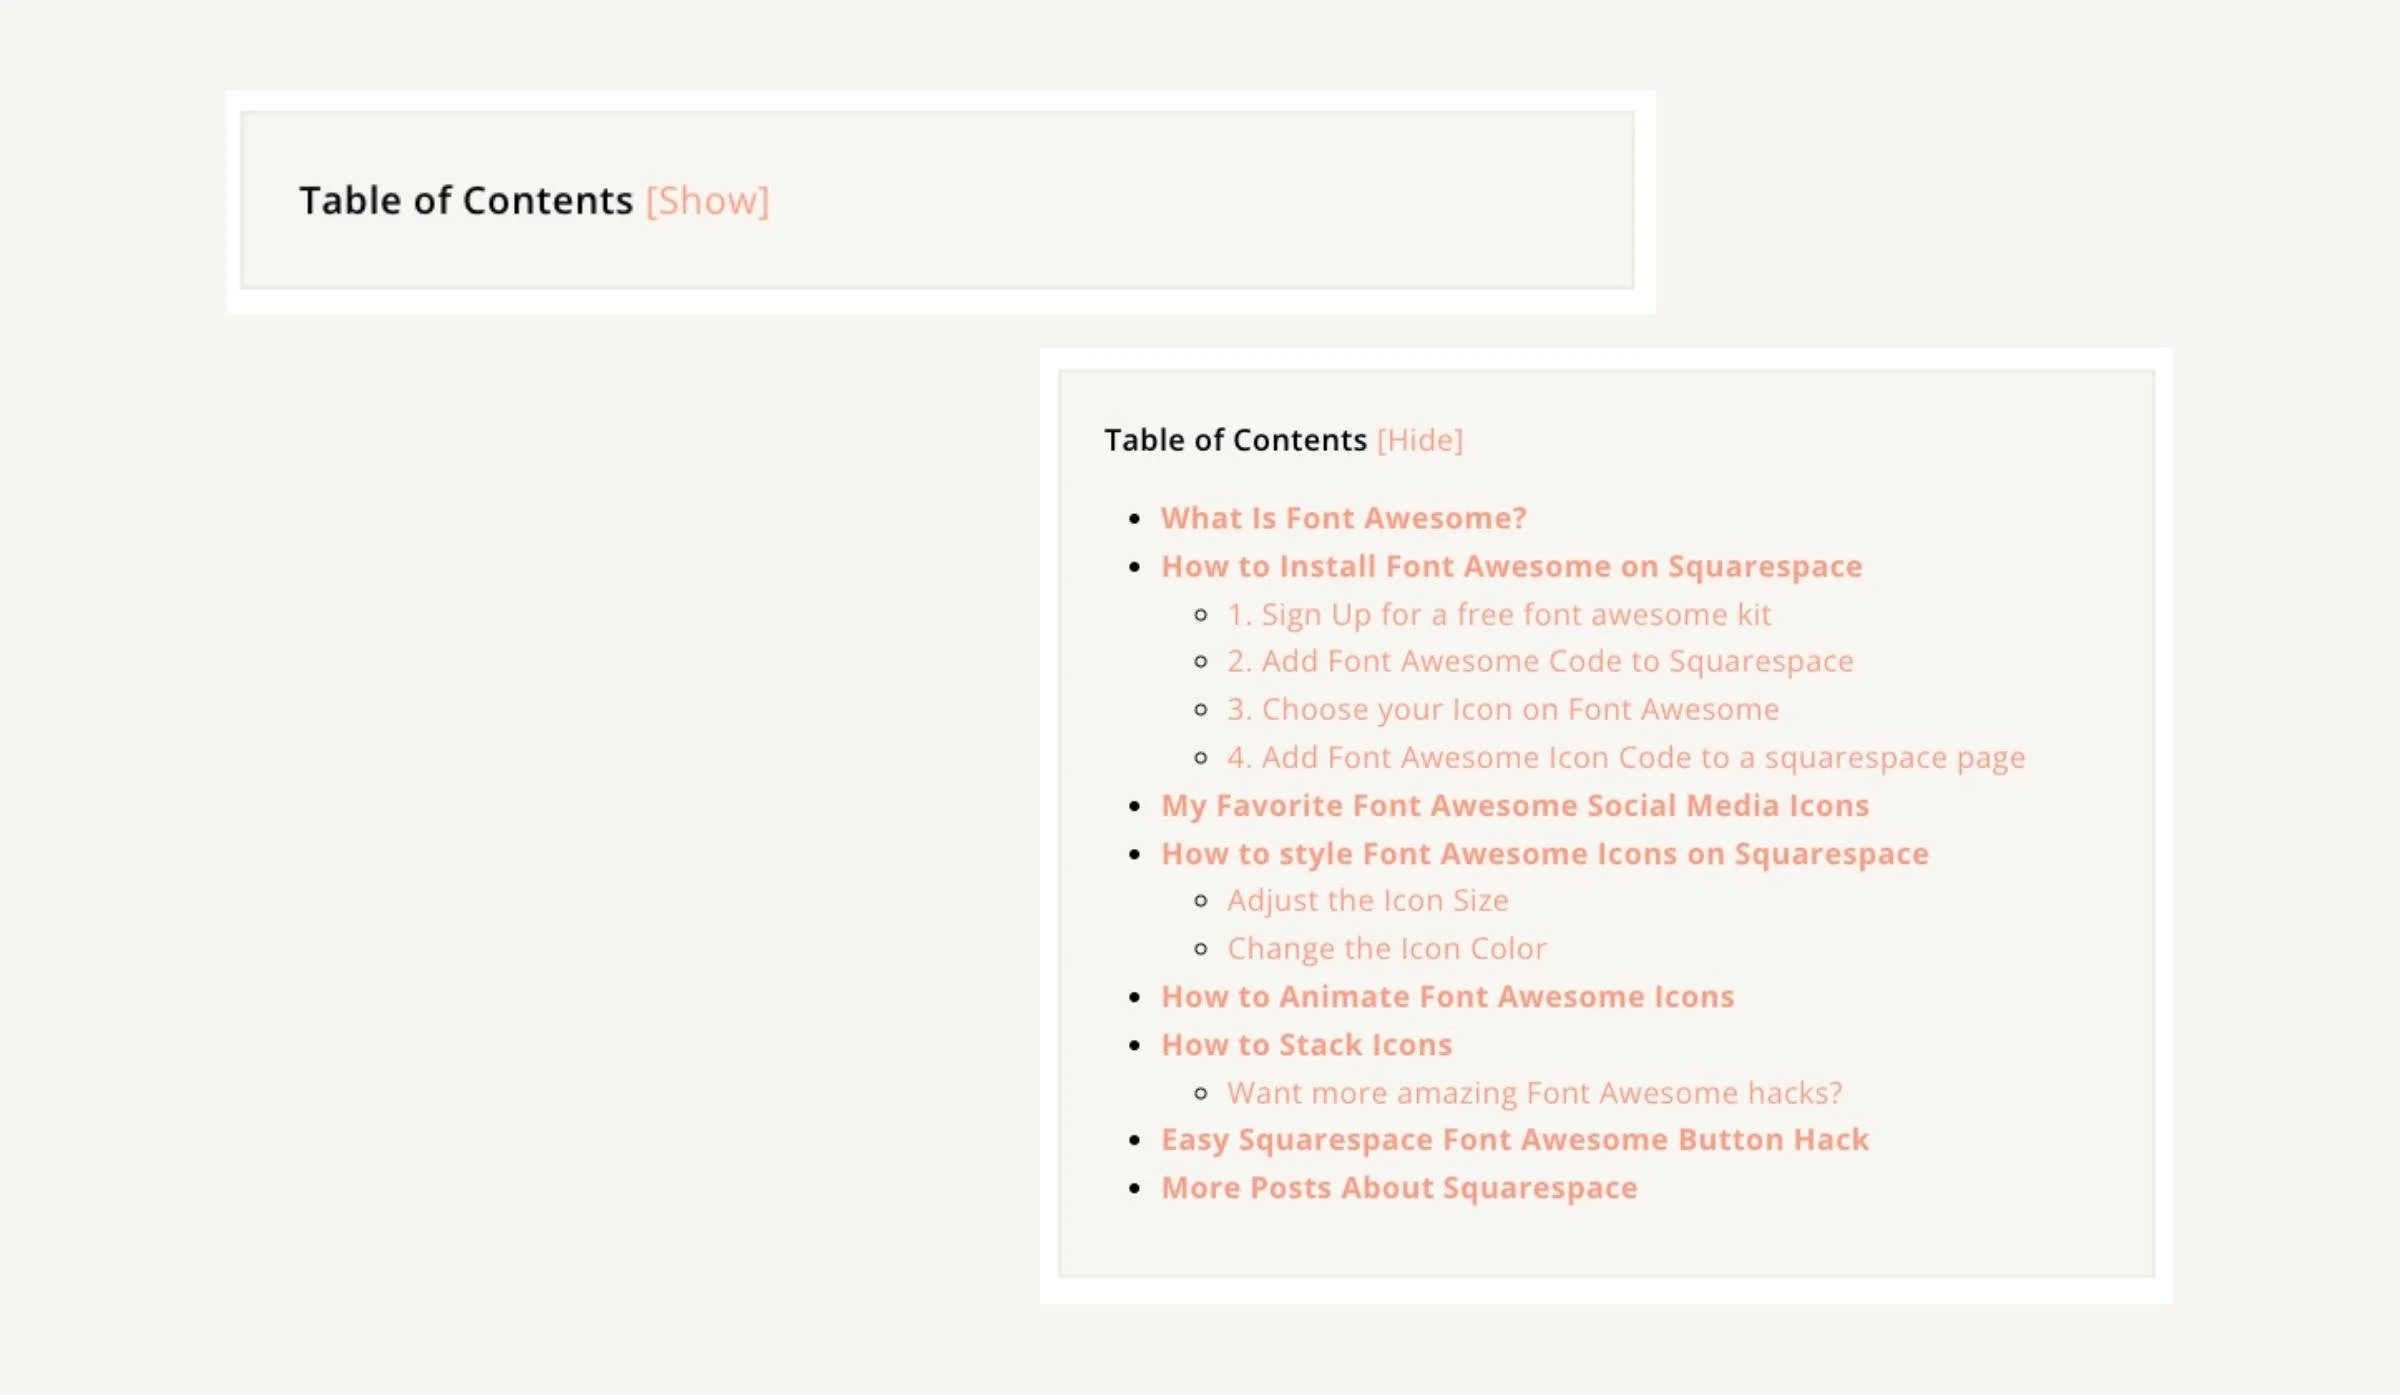
If you want to create your Blog Content as reader-friendly as possible, you might want to Add a Table of Contents. A table of contents makes it easy for your readers to jump to the content they need in your blog post, but it also helps with SEO ranking.
Email Subscriber Form
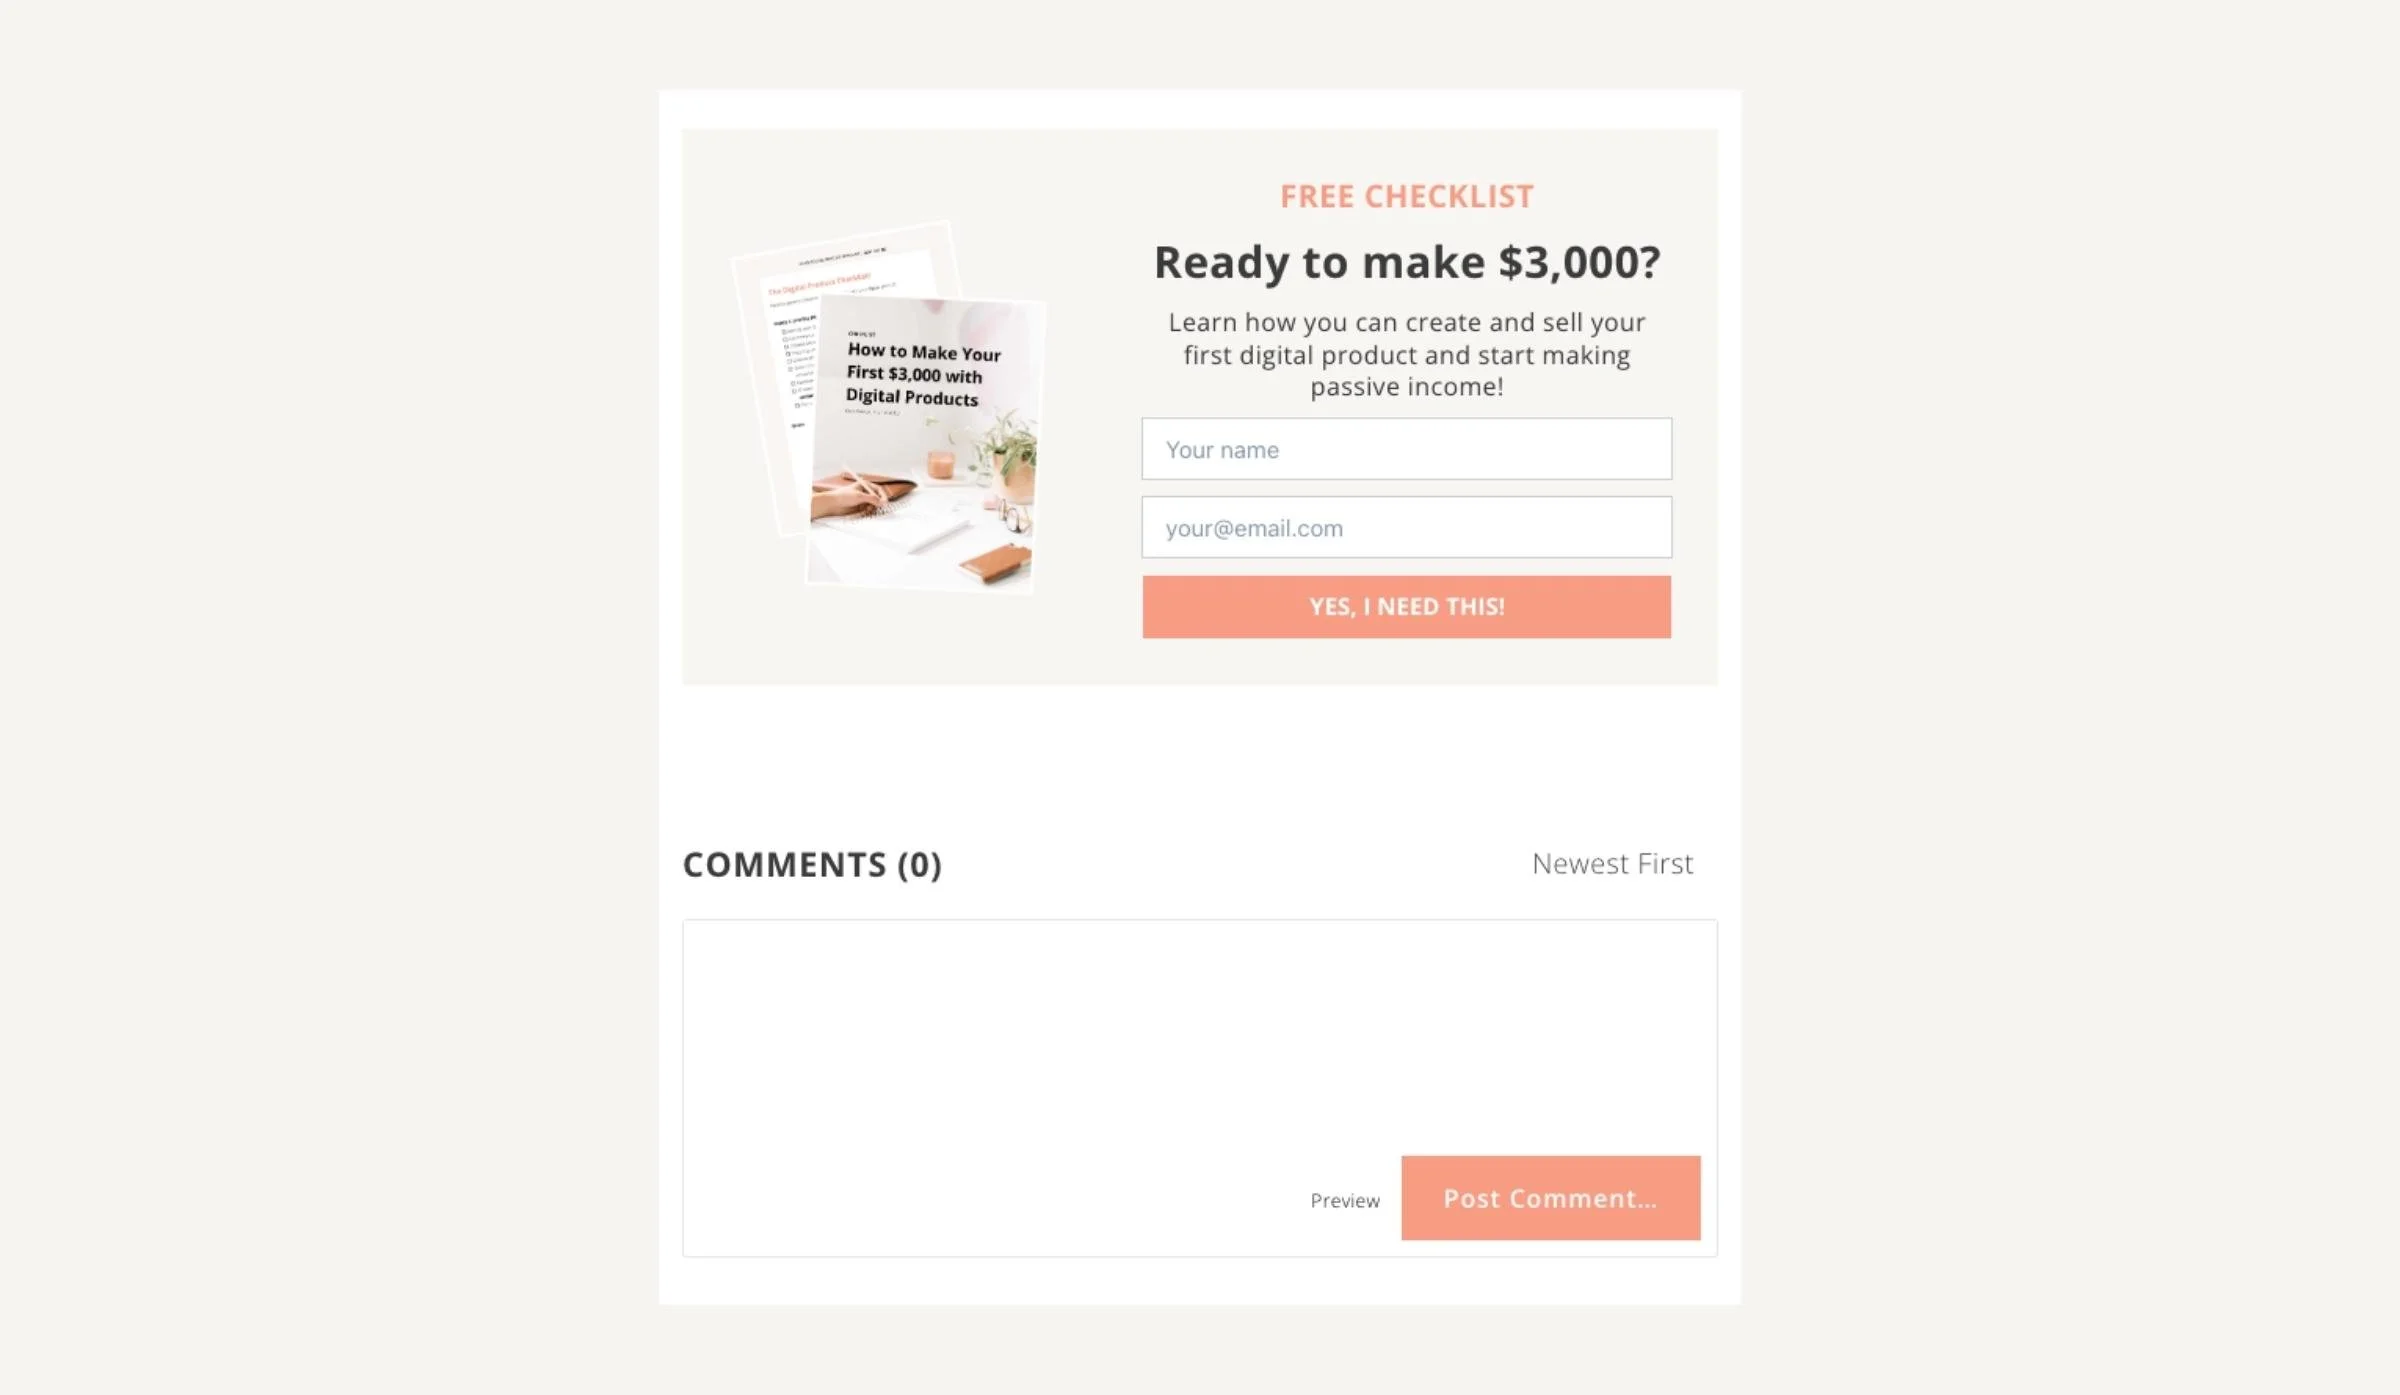
If you’re looking to grow your email list then you definitely need to add your email subscriber form. I used to have Convertkit forms and Flodesk forms, but about a year ago I started using ConvertBox for my forms. ConvertBox isn’t an email service provider, but it does help me grow my list! Plus I’m able to target specific blog posts with different forms and it does it automatically from their platform!
Anyways, I degrees, you should add your forms to your blog posts to help grow your list! I embed my forms on multiple parts of my blog post and I Have a pop-up appear on the left-hand side of my website.
Related Posts
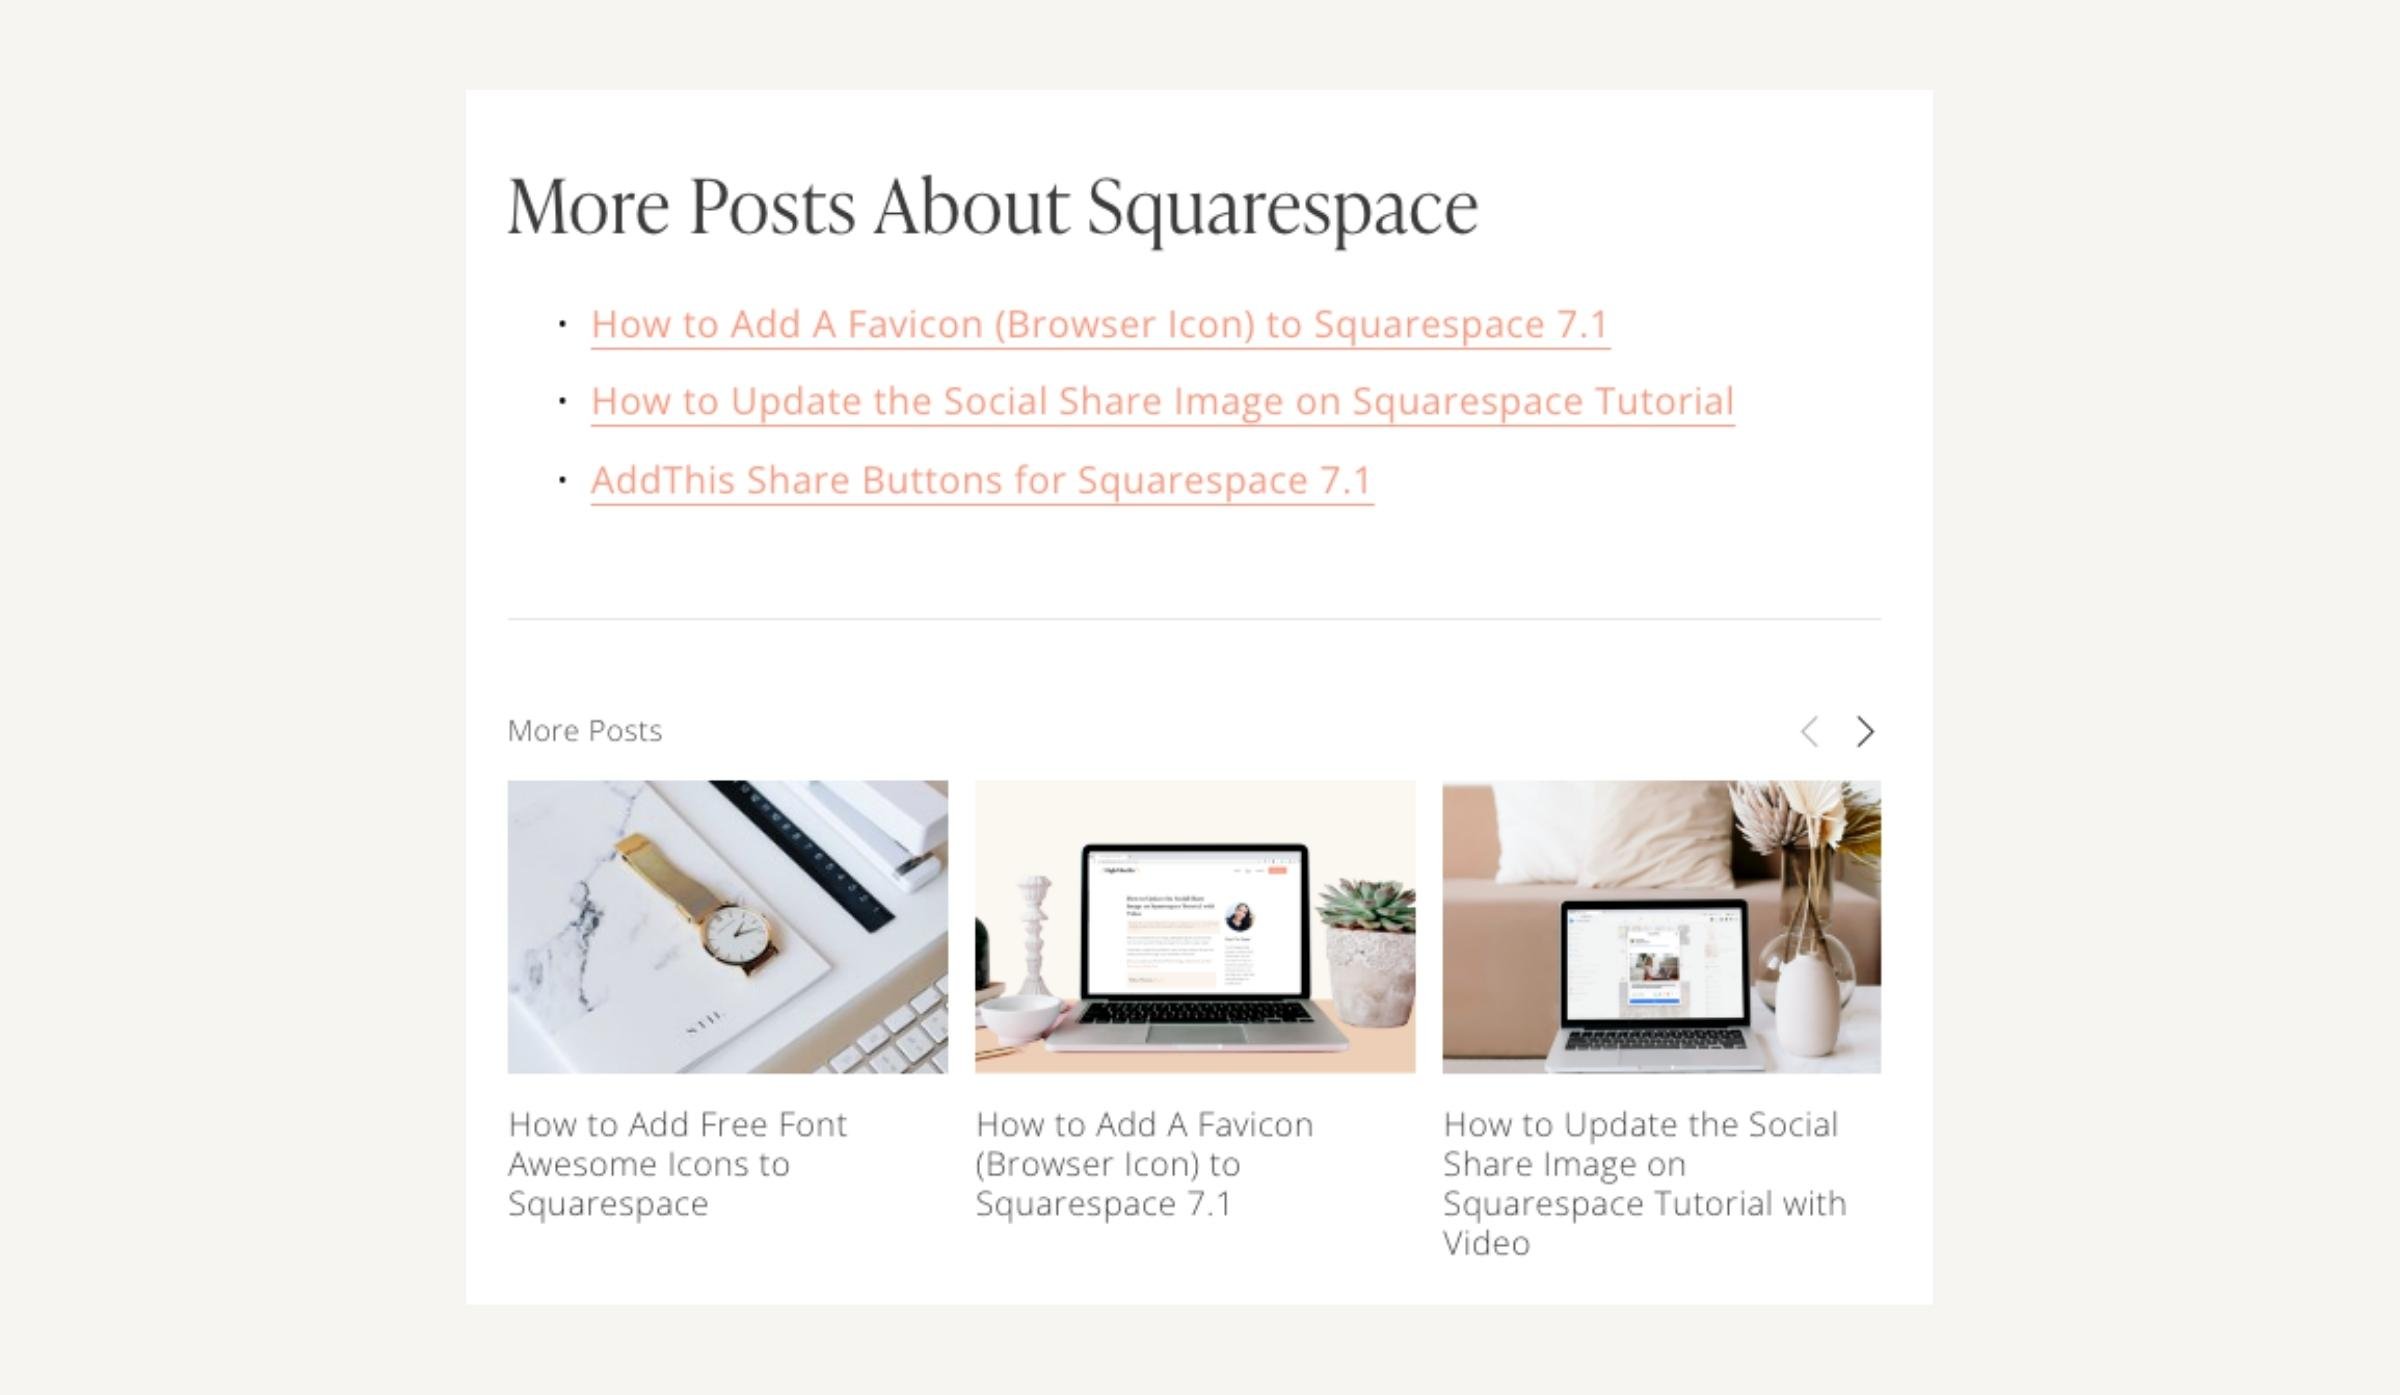
Throughout your blog post you should add Related Posts throughout your content. You can do this by linking text within the content post or creating a callout box like the one in the example above. I’ll be creating a tutorial on how to do this soon!
Read More Links and/or Summary Blocks
At the end of every blog post, link to more related content. I do this in a few ways:
At the very end of the blog post, after my call-to-action, I list posts to the related category.
Add a Summary Block that links to the latest Blog Posts
I also add them to my Sidebar
Social Share Links

Squarespace 7.0 used to include these, but for some reason, they removed them in 7.1. I don’t know why because it’s important to make it easy for your audience to share your links to whatever social media platform or email to other people.
Here’s a tutorial on how to add Social Share Links to Squarespace 7.1 using AddThis.
Share on Pinterest CTA

I suck at Pinterest, but I find that people still Share my Blog Posts using the Pinterest CTA. I create the most simple Pin and use a call-out at the bottom of my post.
Sidebars

I don’t know if it’s because I grew up with sites that always had sidebars, but I feel like these are necessary for your desktop site. You can add so much content to your sidebar to make it easy for your website visitors to navigate. Like
An About Your Section
Email subscriber form
Affiliate notice
Recent posts
Blog Archive
Search
Since Squarespace removed this feature a very long time ago, the best way to add it is by using a Plugin. I got mine from Omari SqspThemes.com
Steps to create a Blog Template on Squarespace
1. Create the Template
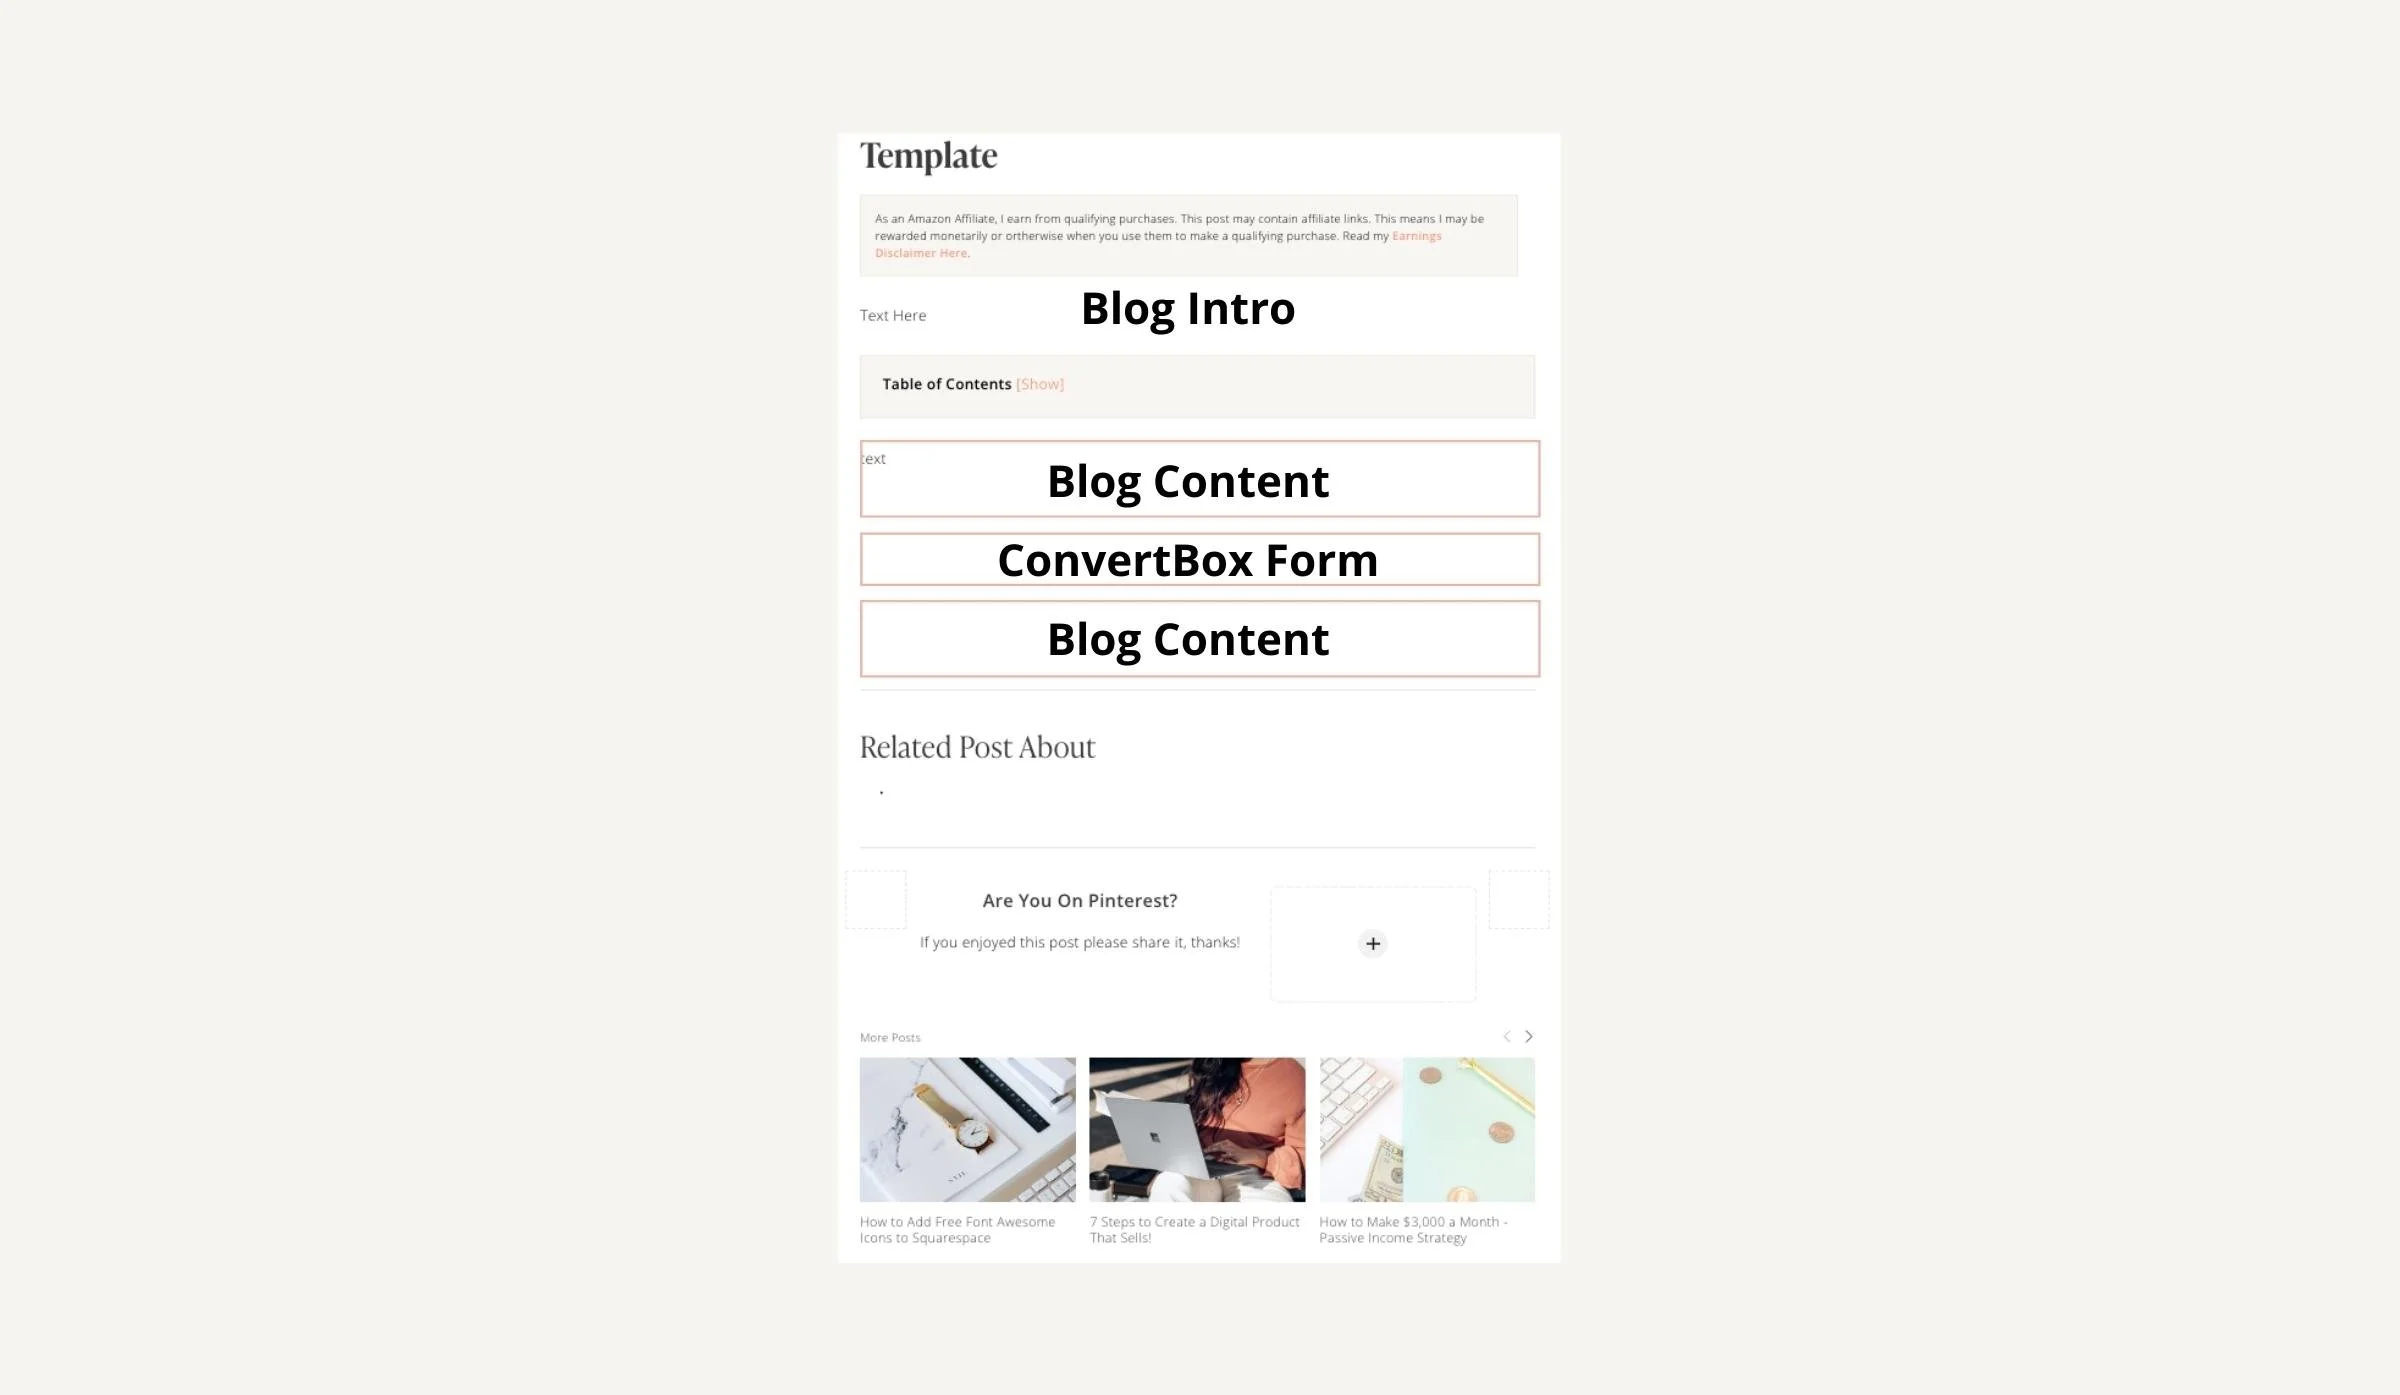
Design your template exactly how you want it. My blog template outline is set up like this
Affiliate Disclaimer (applied on every post, I don’t have to do anything)
Text Block for my intro blog post copy
Table of Contents
Text Block
Code Block with ConvertBox code to feature a Subscriber form or promotion of some sort
Text block
Line Block
Text Block to feature “More Posts About Topic”
Line BLock
Pinterest Promo
Summary Block
2. Save the Template
Once you set up a blog template you love, set the publish date to as far in the future as possible. In Squarespace, blog posts can be scheduled up to 2 years and 3 months in advance. Saving it for the future means it will always be on the top of the Blog Post Template list inside Squarespace which makes it super easy to access. Don’t forget to click save
3. Duplicate the Template to Use it
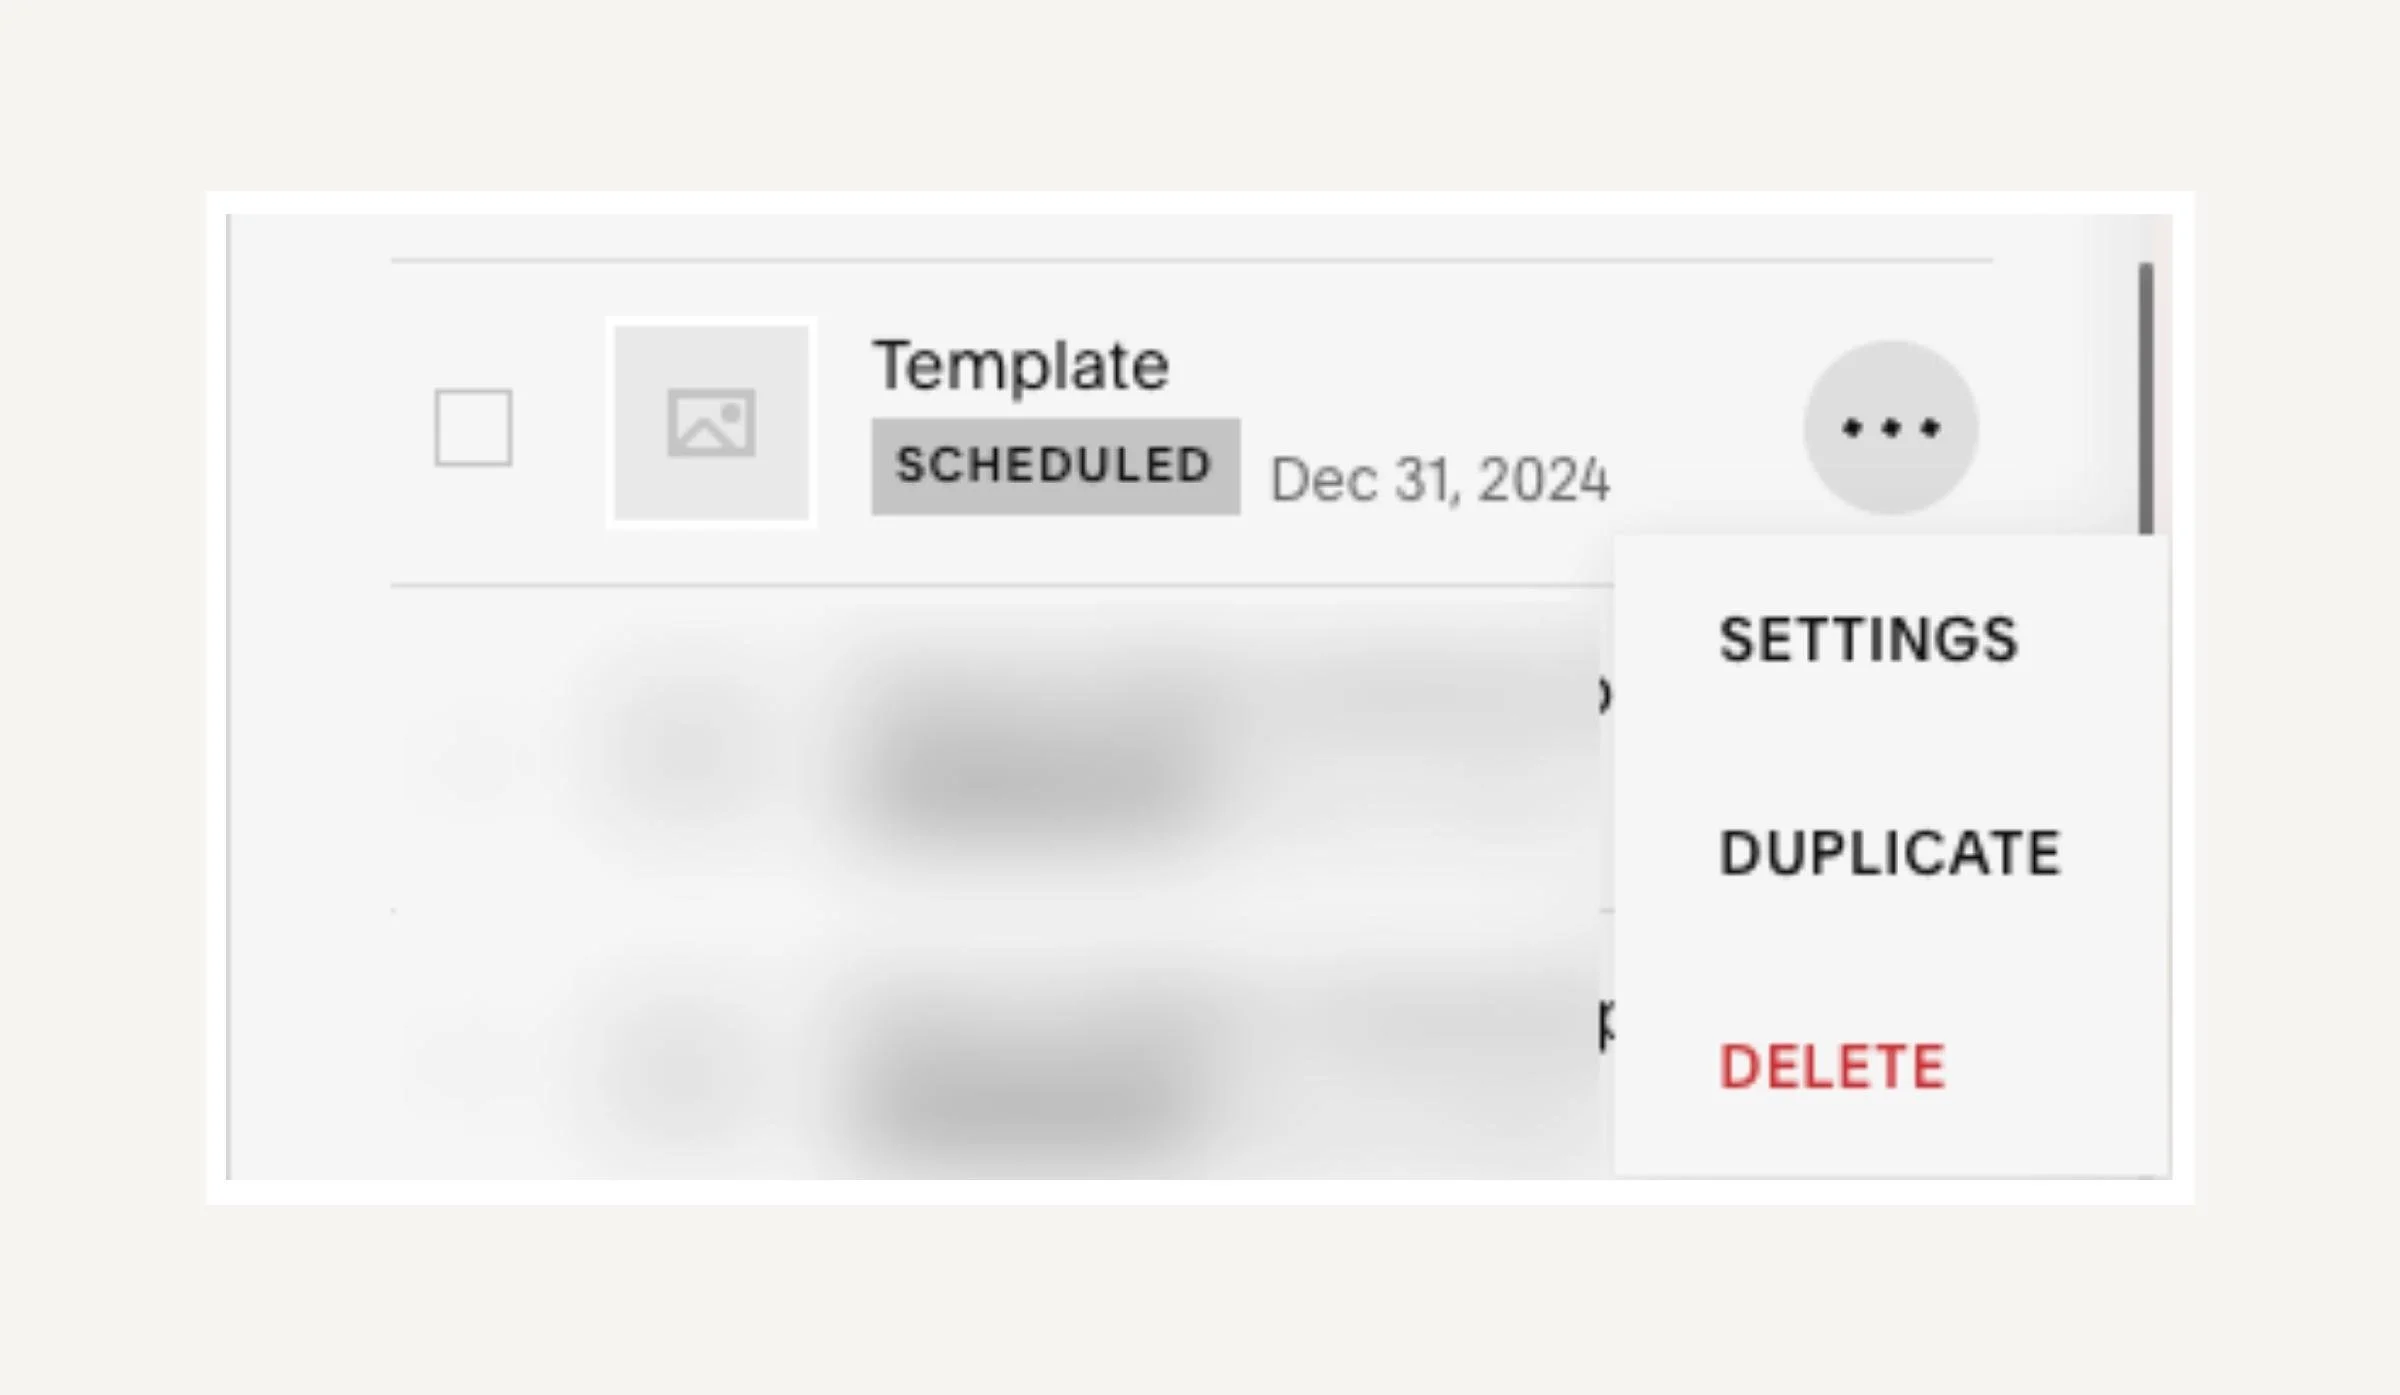
When you’re ready to publish a new blog post. Go to your Squarespace Blog Post Template, click the three buttons to the right of the Template name, and from the drop-down menu, and click Duplicate.
Add your content to your new Blog Post, don’t forget to edit the settings, and set a publish date!
I told you Creating a Squarespace Blog template was easy! Now, what are you waiting for? Go ahead and start saving time and create your own blog post template!
Are You On Pinterest?
If you enjoyed this post please share it, thanks!